
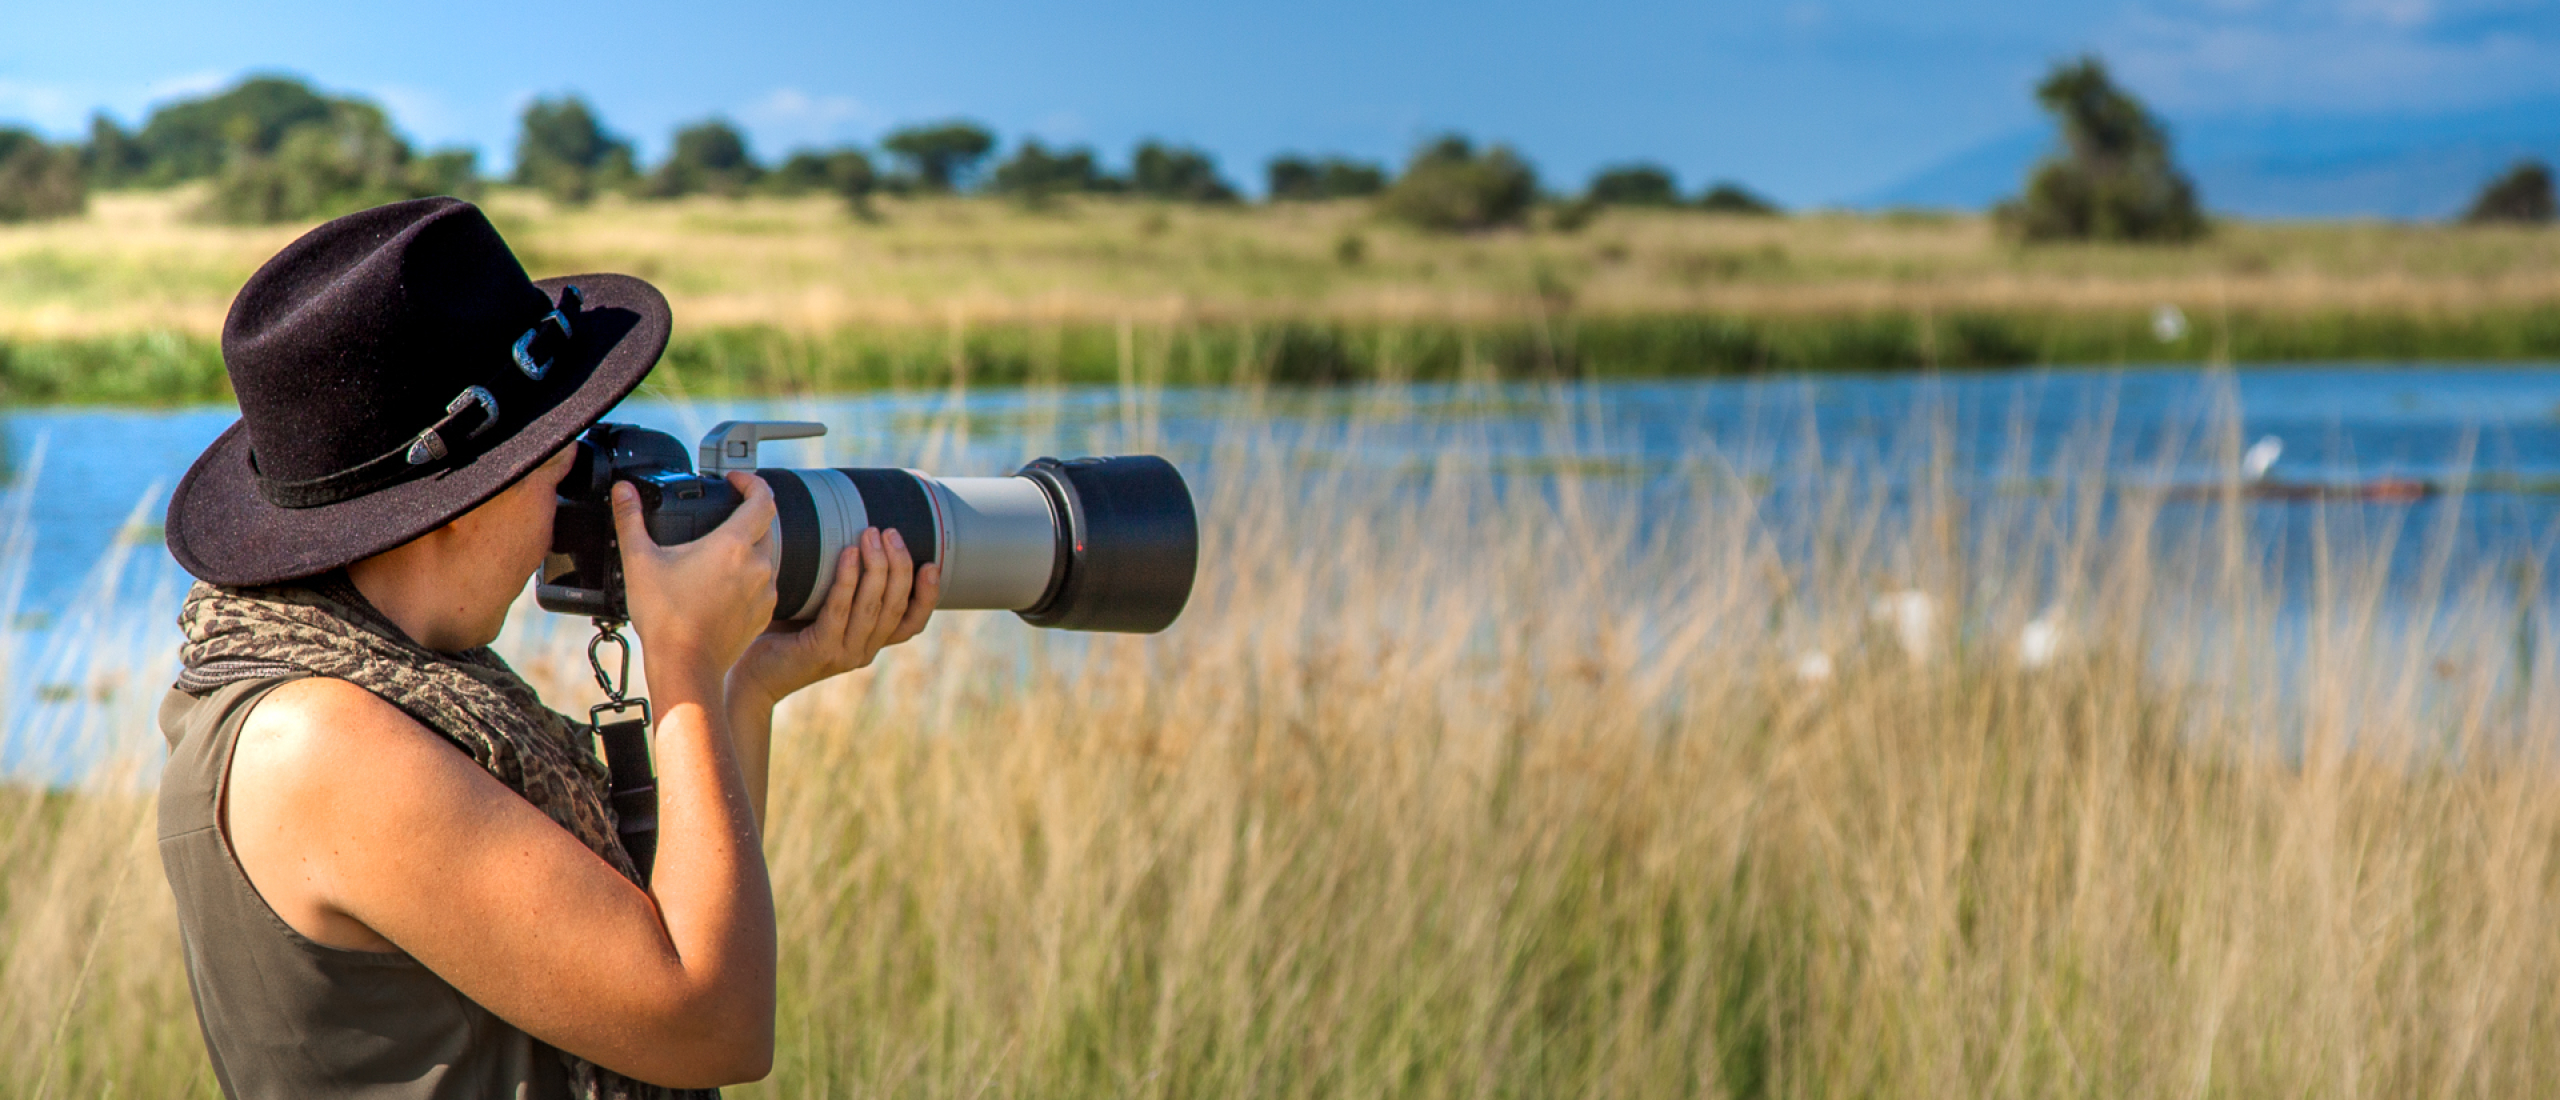
Take better travel photos while exploring our planet! Do you love to photograph beautiful places while traveling, but is your camera a puzzle to you? Do you have trouble getting sharp and correctly exposed images of landscapes, wildlife, or people? I get you. Simply follow the travel photography tips in this article and I can assure you that your travel pictures will look better than before - even without knowing all the technical details of photography! This travel photography article is best suited for beginner travel photographers.
Anyone can learn photography with this 4-step system. Start learning now!
Learn travel photography by following 4 easy steps
How to take your own high-quality travel pics? When I first started with photography, my camera was also a puzzle to me. I kept using the automatic mode until I learned the basics of photography while I was volunteering in a Game Reserve in Africa. On our daily game drives, I practiced what I’d learned and I slowly got to understand every piece of the photography puzzle. With every photo you take, you’ll keep learning and improving your (travel) photography skills, and maybe one day, you can count your photo to one of the best travel photos of all time.
So, the good news is: you can learn photography too, without knowing all the technical details. Sounds good, right?
The most critical component of photography is the photographer, not the photography gear!

Travel Photography Quote: ‘You don’t take a photograph, you make it!’ ~ Ansel Adams
Follow the below 4 steps to improve your travel photography skills to make sure you will come home with much better travel photos that will be a sweet memory of all the beautiful places you’ve visited on your travel adventure:
1. Prepare the image you want to capture
How to take travel photos and where to start? First, you decide on your next travel destination. Once you’ve decided where to travel next, research the places you want to visit and list some beautiful photo locations where you would like to take your own travel photos. Preparation is Key; a very important travel photo tip to create a successful and unique travel photo.
Research and scout possible photo locations
Google or scout the photo locations you’ve listed. Determine the exact photo spots, including the coordinates and check out Google for similar images taken on that location and try to find a unique perspective for your image.
Visualize the image
Try to visualize the image you want to capture at a certain photo spot and think about how to capture your subject in a unique and creative way, in the best possible light. For example, in the hours around sunrise or sunset including the ‘golden hour’. These are my favorite times to shoot because of the beautiful soft diffused light of the sun, standing low at the horizon.
Preparation is half the battle, which also applies to photography. Most award-winning travel photos are well thought out and planned in advance; sometimes down to the minute. For example, if you want to capture one of your favorite photo spots at sunset or at dawn (the period of twilight prior to sunrise), you need to know at what time the sun rises or sets.
 I waited until the Milky Way was straight above the Cipressi di San Quirico d’Orcia in Tuscany.
The above image of the Milky Way in Tuscany is not one of my best travel photos since the stars aren’t perfectly sharp, but it took some time to wait for the Milky Way to arise straight above the trees. Milky Way photography is a more advanced level of photography, but great to create beautiful travel photography. As a photographer, you keep learning and improving your photography skills with every photo you take.
Use photography apps to plan the best time to capture your image
")
One of the tips for travel photography: Use Photo Ephemeris WebApp to take better travel photos
How to be at the right place at the right time to get the perfect light? You can find this information online or by using various (free) photography apps. These apps are great tools to plan your perfect shot in advance, so you will be in the right location at the right time to take the image you planned to capture.
The most well-known apps photographers, including me, work with are PhotoPills and The Photographers Ephemeris (TPE). These apps are not free, however, the TPE desktop web app is free to use. Enter the location you want to photograph and you will see the position of the sun at any given time; as well as the exact times of the sunrise, sunset, moonrise, golden hour, blue hour, and so forth.
I also like to use Google Earth to look for potential photography locations. If you don’t want to leave anything to chance, you can also check the weather in advance 😉
Be patient and you will create better travel photos!

Just like preparation, patience is key too! Creating successful travel images can take time. Sometimes, I spend hours at the exact same photo location, waiting for that perfect shot.
Obviously, you can’t always be prepared, but it does help to create a successful image that has been thought through and therefore it’s the first step of this 4-step formula to take better travel photos.
2. Tell the story by creating an attractive composition
A good photo tells a story and is judged on, for example, the content (the story the photographer tells), the design (rules regarding the composition), and the techniques (including lighting, focus). Don’t be put off by the technical side of photography. Even if you have not mastered the technical side of photography (yet), you will be able to create a travel picture that stands out; even with your smartphone! A few photography tips to create an appealing composition:
Determine the frame of the image you want to capture
Composition in photography is the artistic placement of objects, graphic elements, and space within your photo; the framework. A photo has 4 sides; some of what you actually see with your naked eye will be cut off the moment you capture an image on your camera. Create better photos to think about how you want to frame the subject you want to photograph.
Tell the Story
This is where storytelling comes into play. Simply put: every story has a hero. That here usually has friends, but also an enemy or bad guys to deal with. When determining your frame, you need to look for your hero (the main subject) and the hero’s friends (sub-subjects or shapes and lines that have a supporting role). Apart from that you also need to identify the bad guys (disturbing elements). You tell the story of the hero by portraying the hero and his friends and by putting the bad guys out of play, and therefore outside of your frame. From the moment you try to tell a story with your travel photos, you will create better travel photos than before.

This is one of my best travel photos. Why? This photo tells a story. Can you identify the ‘hero’ and its ‘friends’? Captured at Avenue of the Baobabs in Madagascar.
Avoid disturbing elements
Focus on your main subject, but also pay attention to the scene and the environment you’re photographing. Is it a beautiful clean background or can you find a better background for your subject if you change your position or camera angle? Can you identify disturbing traffic signs, trash cans, or other disturbing elements in your image? For example, a tree growing from someone’s head?
Check if there are people in your frame. Is that person only half in the picture or are the feet of a person cut off, maybe even the head? Are these people in your frame all ‘friends’ of your main subject or are they making your photo look messy? A valuable travel photography tip is to think about how you can avoid those elements, for example:
- wait until the people are out of your picture;
- change your position and/or camera angle;
- use a little bit more zoom on your main subject to crop out the ‘bad guys’.
Experiment with your camera angle to take more unique and better travel photos

The vast majority of people photograph at eye level, at the same height as the subject you are photographing. Do you want to learn how to take good travel photos? Try to experiment with different viewpoints, such as bird’s eye view and frog’s view. With a bird’s eye view, you shoot from above, making your subject appear slightly smaller, while from a frog perspective you shoot from below, making the subject appear larger than it actually is.
Shooting from different perspectives can result in beautiful travel photography

Travel photo tip: A frog’s perspective of the Eifel Tower in Paris. I love the symmetry in combination with the lines and shapes of this structure. What do you think?
Look for interesting (line) patterns, shapes, and reflection
Striking shapes, leading lines, interesting shadows, or reflections in windows or water, add an extra dimension to your photos. When used properly, lines lead to your main subject and add more power to it. Those lines are considered as the so-called ‘friends’ of the hero, your main subject. These lines can be horizontal and vertical lines, but also curved lines and diagonal lines. Lines can be found everywhere: from nature to architecture. The same goes for shapes, such as squares, triangles, and circles. Patterns can also give a photo a wow factor. Patterns are formed by a combination of lines, shapes, colors, and repetition. Observe your surroundings carefully, because both nature and the city and its architecture offer countless patterns. Experiment with these tips for travel photography to improve your travel photos.

In the image above, I applied the Rule of Thirds and I also found a cool reflection in the water on the rice fields, which make the rice fields ‘friends’ of my main subject; the hero, called Baobab.
Use the Rule of Thirds to position the subject you want to photograph

Take better travel photos by using the Rule of Thirds in Photography; one of the rules to create an appealing composition, like this image of a Chimpanzee in Kibale Forest (Uganda)
The Rule of Thirds is a great rule to take better travel photos as this rule reminds you of where to place your main subject and the horizon in your frame. This means that you don’t place the subject in the center of your photo, but for example to the left or right of your frame. It is best to comply with this rule if you divide your image into 9 areas; with some cameras and smartphones, you can set the viewfinder to automatically show a grid of 9 areas when you take a photo.
Place the main subject on or just next to one of the four intersections. This immediately makes a photo more vivid. Think again of the hero, his friends, and the bad guys. In some cases, the rule of thirds does not work, for example when photographing subjects that are highly symmetrical (especially in architecture, like my photo of the Eifel Tower in Paris).
Extra photography tip: use the grid to check if your horizon is straight. Photos look much better with a straight and well-framed horizon.
3. Use Aperture Priority Mode to create sharp and in-focus images

If you’re still a beginner photographer and you’re having trouble with getting sharp, in-focus, and correctly exposed images, there’s a simple camera setting trick you can use, to get sharp and correctly exposed images, without knowing the technical part of photography and all other camera features.
Set your camera to Aperture Priority Mode to take better travel photos

Set your camera to Aperture Priority Mode, a semi-automatic shooting mode often marked as ‘A’ or ‘AV’ on your camera. It allows you to have full control over the aperture (f/stop) while the camera automatically adjusts the shutter speed to get the correct exposure. The advantage of using the Aperture Priority Mode is having full control of the Depth of Field in your image (how much of the image you want to have in focus). Do you want lots of details in your photo from the foreground to the background or do you want, for example, the subject in the foreground in focus and the background more blurry?
Choose your aperture
The only thing you have to think about is choosing the aperture (or f/number) based on how much of your image you want to have in focus.
- With a large aperture (a small aperture number, like f/1.4, f/2.8, or f/4.0), your background will be more blurry, meaning that a smaller, more specific, part of your image will be in focus. This is great for portrait photography or close-ups in wildlife photography;
- A smaller aperture (high aperture number, like f/8.0, f/11, or f/22) means that you will have more details in your photo from the foreground to the background, which is great for landscape photography or for example to photograph a larger group of animals.

This wildlife photo was captured with a zoom lens. My main subject is perfectly sharp and in-focus, while the background is blurry. One of my best travel photos of wildlife that made it to National Geographic Magazine.
Manual mode vs. Semi-automatic mode
The more advanced photographers will probably shoot every photo in manual mode (M) to have full control over all the camera settings, like aperture, shutter speed, and ISO. However, this article includes travel photography tips for beginners. So, if you love travel photography and you want to take better travel photos straight away, the semi-automatic Aperture Priority Mode (A or AV) is your best bet.
I also started photographing in Aperture Priority Mode before I switched to manual. Shooting in manual mode from the start was too confusing for me and Aperture Priority Mode helped me to understand the aperture and see the differences in Depth of Field.
Extra photography tip: if you plan to shoot during sunset or in the evening (in darker conditions), it’s best to use your tripod to prevent blurry images.
4. Edit your travel photos in Adobe Lightroom

You don’t necessarily have to use Lightroom for the post-processing of your images. However, Adobe Lightroom is designed for photographers, and it’s much easier to use than its bigger brother, Photoshop. With a few basic adjustments in Lightroom, you can make your photo pop and look awesome without making it look fake or too heavily edited. Just enough post-processing to do justice to the scene you photographed.
I usually start with basic adjustments to the highlights, shadows, contrast, exposure, clarity, and vibrance of the image. Check the horizon in your image and straighten the horizon if necessary. With Lightroom, you are also able to paint extra light into your photo with the available brush tool. Lightroom is available for your desktop and as a mobile version.

In the panel, I adjusted the exposure, contrast, highlights, shadows, whites, and blacks, a little bit of clarity and saturation. I also made an S-curve at the Tone Curve. These basic adjustments make your travel photos look much better and it still looks natural.
4-step formula to take better travel photos
If you follow and apply the above four steps with travel photo tips and tricks, you are able to develop your photographic eye and start taking better travel photos that tell a story and are appealing to the eye, without knowing all the technical stuff and camera settings. A great reason to go out and (re) discover all the beautiful pearls of our planet through the lens of your camera. You can find more travel photography tips and photo locations in my travel photography guide.
Start learning photography today, by practicing at home
In case this travel photography blog post was helpful to you and you’ve learned how to take beautiful travel pictures, you could help me in return by sharing this article on your social media channels. I appreciate every tweet on Twitter, share on Facebook, or pin on Pinterest. Let me know if you have any questions related to travel and photography. I'm happy to help.
Pint this article on Pinterest for later use