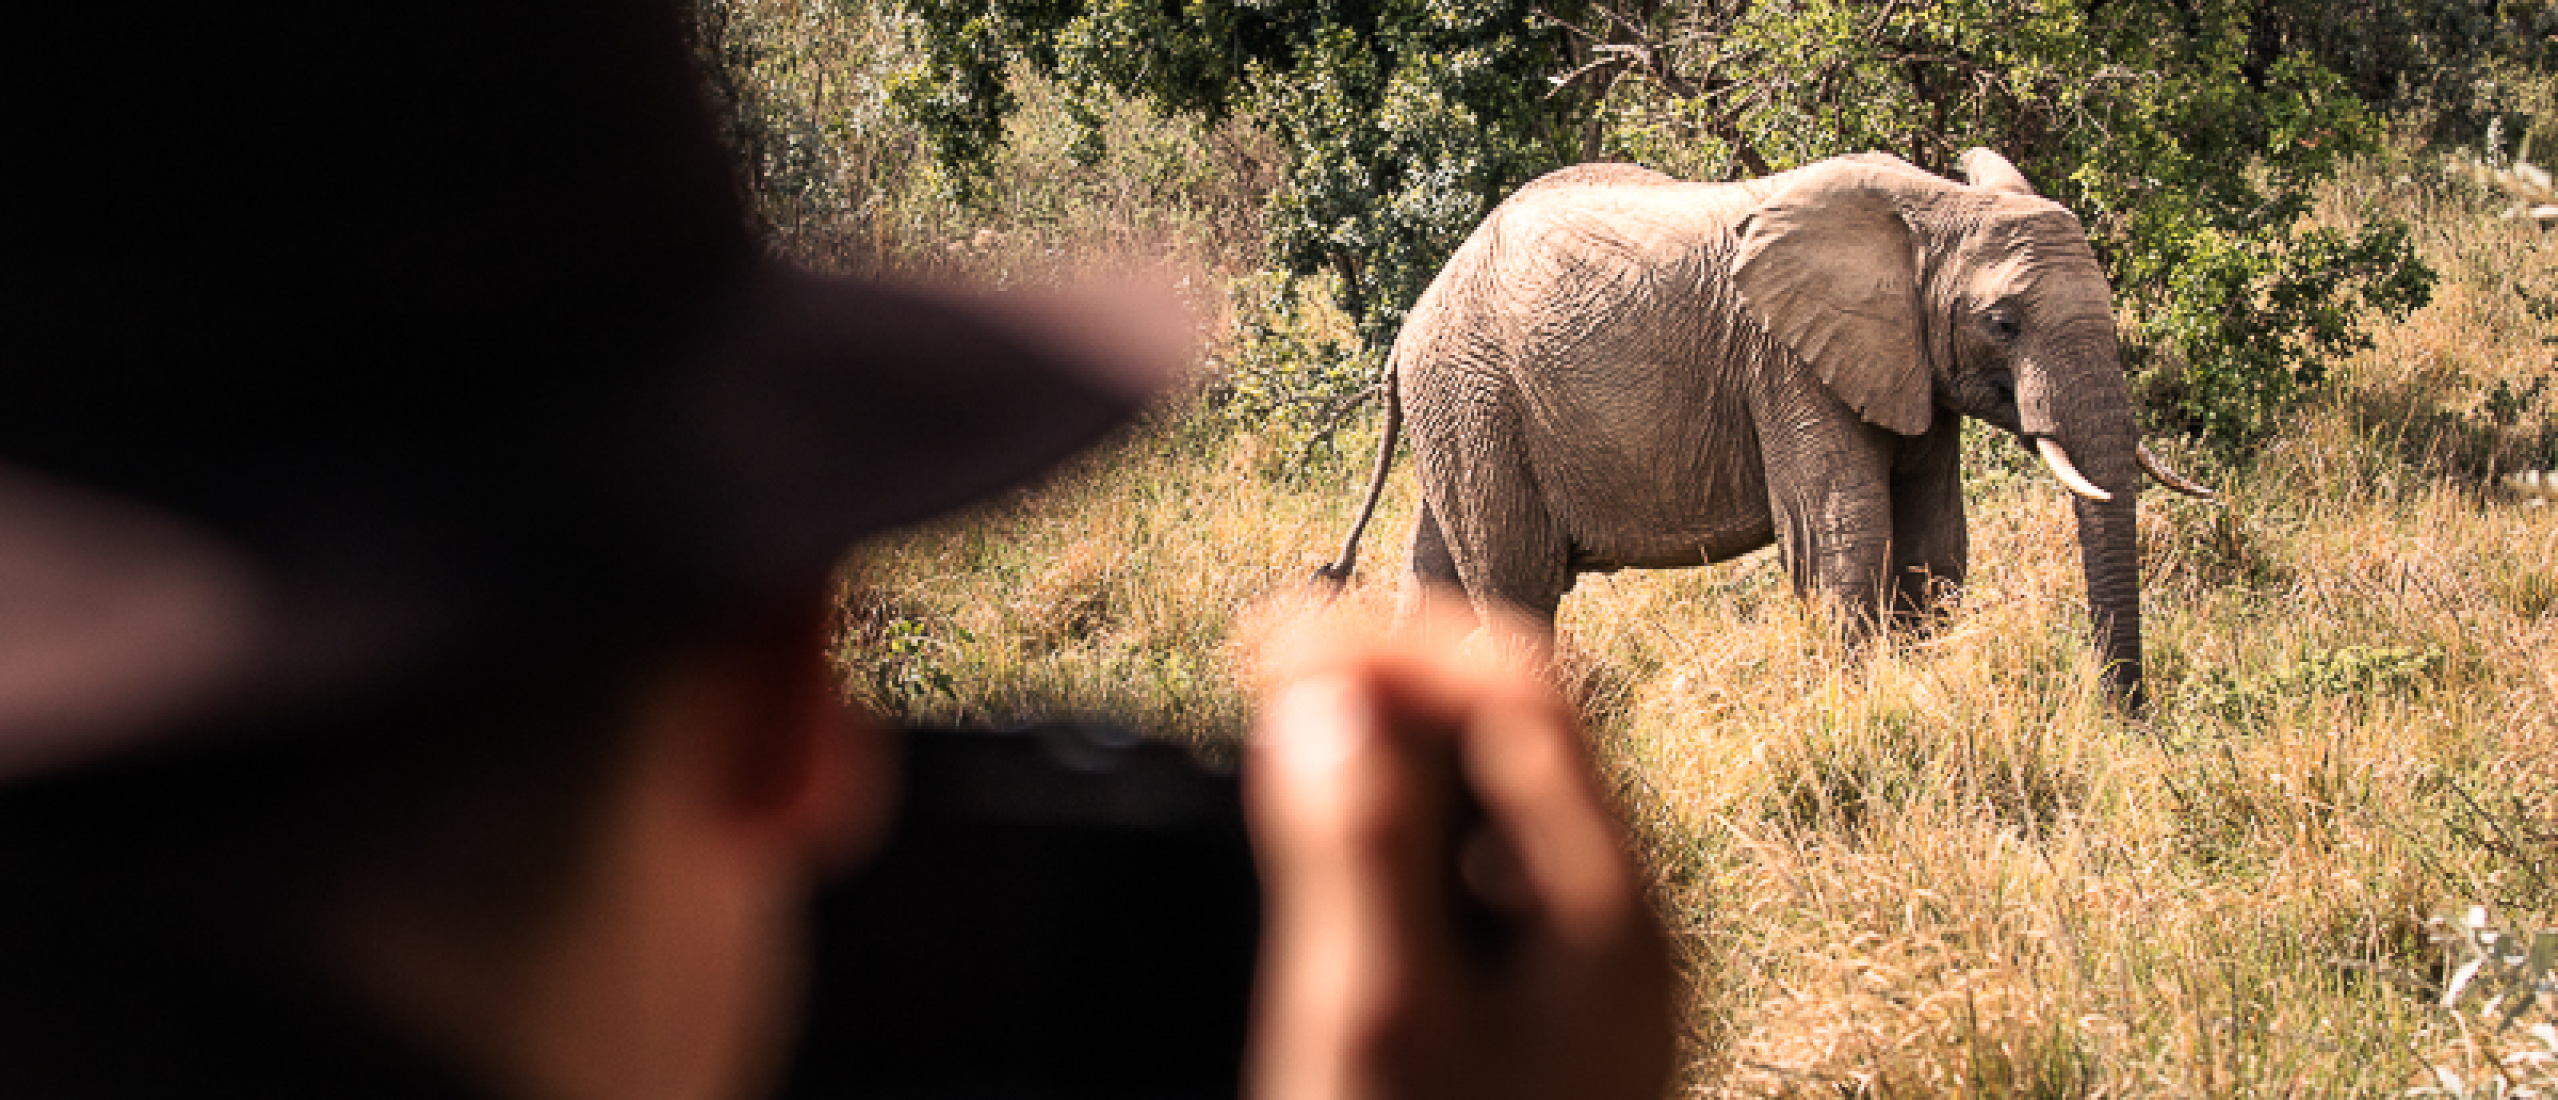
As a passionate ethical wildlife photographer and qualified safari guide, I've gathered some valuable safari photography tips to help you elevate your safari experience. Even if you've never held a professional camera, you can still capture the raw beauty of the wild with just a few tips and tricks.
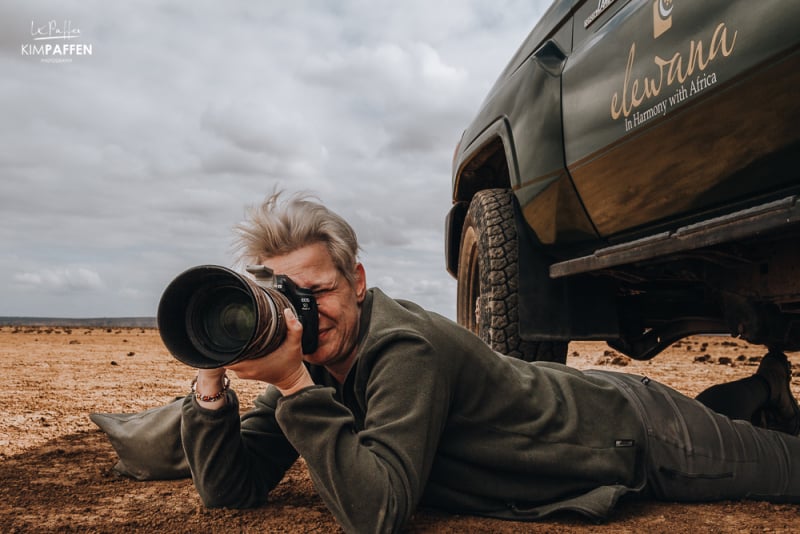
Embarking on a safari in Africa is a magical journey, and capturing these moments through photography allows you to relive the excitement and share the beauty of the African wilderness with others. Photography on safari also encourages you to pay attention to other things that might have gone unnoticed. By actively seeking unique angles and observing moments to capture, you become more attuned to the intricate details of the wildlife and the breathtaking landscapes surrounding you. It helps you notice small details and appreciate nature even more.
Read my 21 safari photography tips for capturing stunning safari photos:
1. Immerse Yourself in the Experience
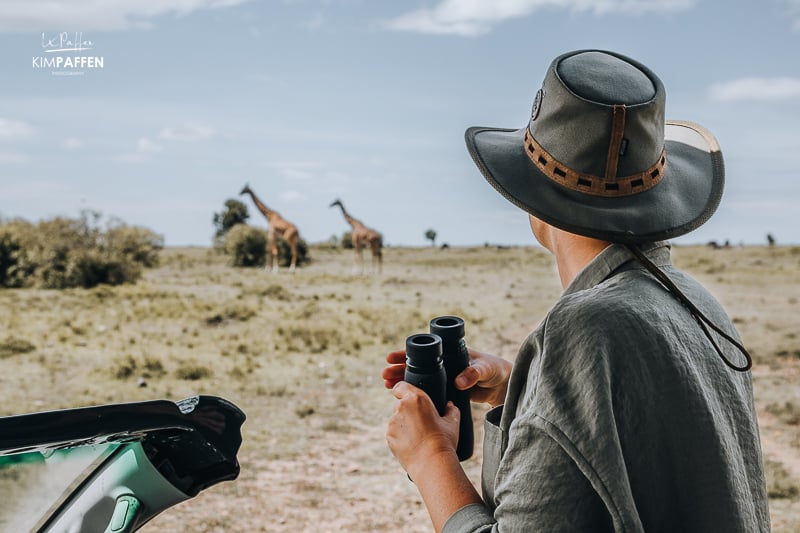
Each day on safari brings unique moments. Photography not only preserves memories but also encourages you to notice intricate details and appreciate nature. Seek unique angles and moments to capture, and let the beauty of the wild inspire you.
2. Be mindful of the Environment and Respect Wildlife
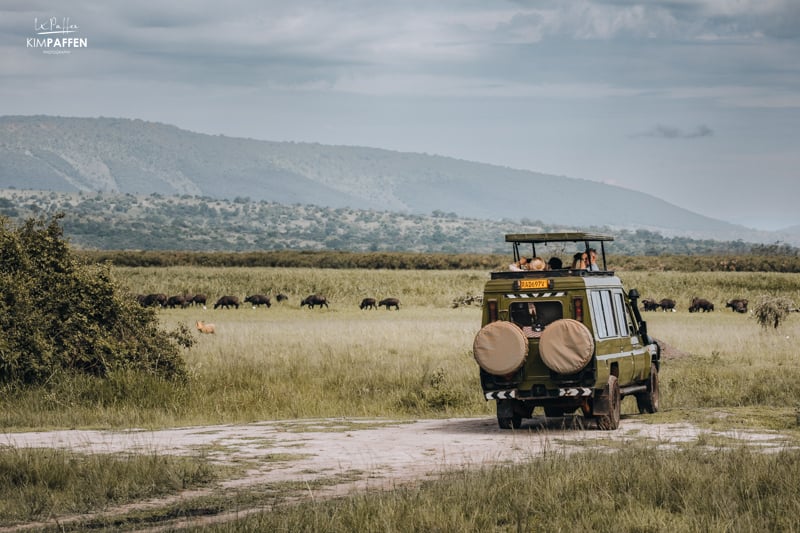
Patience is key to capturing natural behavior. Maintain a respectful distance, observe quietly, and avoid disrupting the animals' natural rhythm. Remember, you are a guest in their home and therefore this is one of the most important wildlife photography tips. Always respect local regulations, cultures, and environments. Your patience will be reflected in the authenticity of your safari photos.
If you approach an animal sighting, always be careful to not disturb the animal and minimize noise. How to show respect for the animals during wildlife photography?
- Maintain a respectful distance
- Approach animals indirectly
- Avoid positioning yourself upwind from the animal
- Keep your voice extremely low
- Switch your camera to silent mode to avoid startling wildlife
- Don’t use your flash
Whether you're a beginner or an experienced photographer, adhering to a code of conduct ensures the well-being of wildlife, contributes to conservation efforts, and ensures a more authentic safari experience.
3. Utilize Your Guide's Knowledge
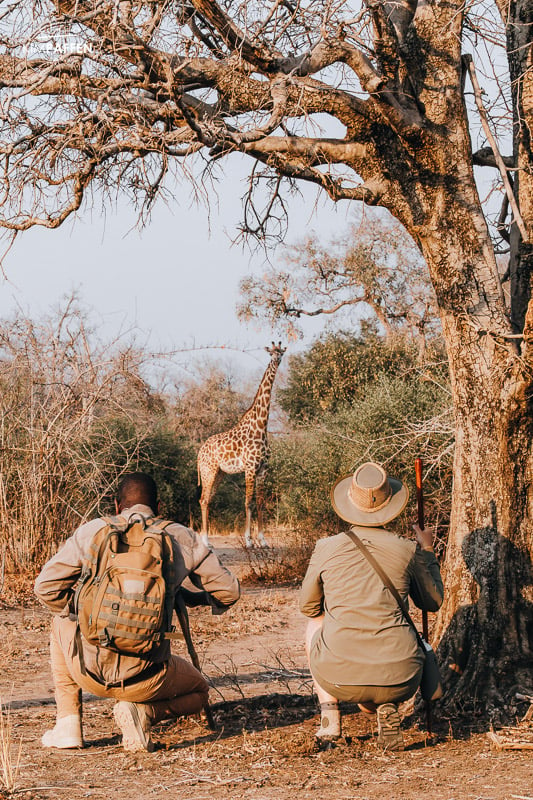
Collaborate with your local field guide who possesses invaluable knowledge of animal habits, territories, and behavior. Communicate your photography preferences, and leverage their expertise to position yourself for the perfect shot. Guides can anticipate lighting conditions and animal movements, enhancing your photography experience. For example, positioning the vehicle in a way that the sun is in your back instead of in your lens to have nice lighting on the animal or landscape you want to capture. However, on some occasions, it’s also great to photograph towards the sun to create a nice rim light around the animal.
As a nature and wildlife enthusiast, I encourage you to ask your safari guide lots of questions to learn more about the behavior and habitats of the wildlife you encounter. This knowledge helps you anticipate movements and position yourself for the perfect shot.
4. Pay Attention to Composition
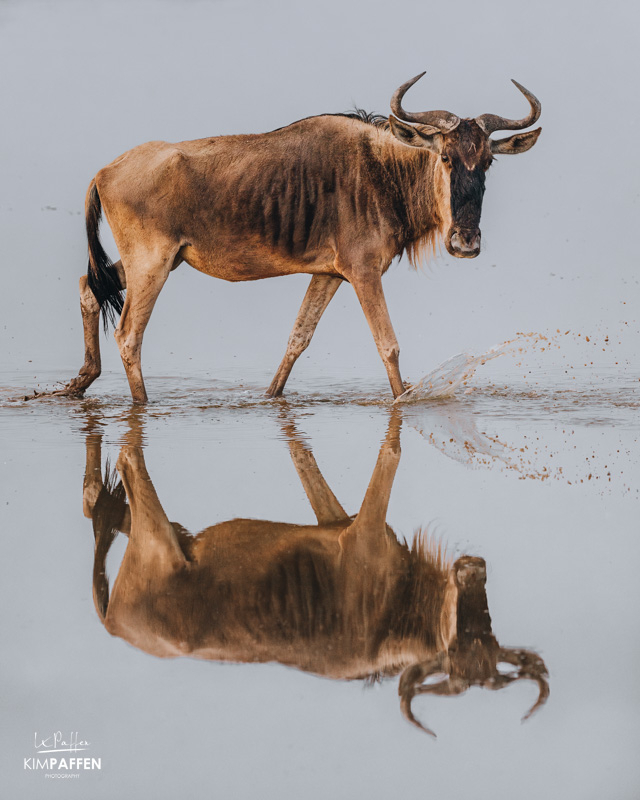
Crafting attractive compositions on safari is key to impactful photography. Be creative. Explore angles, perspectives, and framing techniques to create visually appealing images.
Rule of Thirds
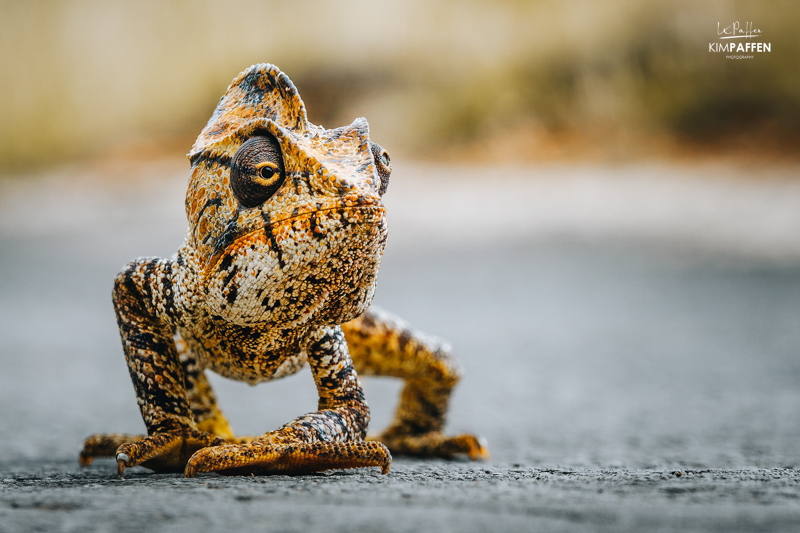
Apply the rule of thirds by placing your subject off-center for dynamic images. Utilize paths, tracks, or natural elements like bushes, rocks or trees for depth and scale. These composition tips elevate your photos without requiring advanced technical skills. Most cameras also have a grid that helps you to better frame your subject. Also, always think of leaving an empty space in the direction the wildlife is heading or the direction the animal is looking. In some occasions, it's also a good idea to put your subject in the middle.
Shoot from a low angle
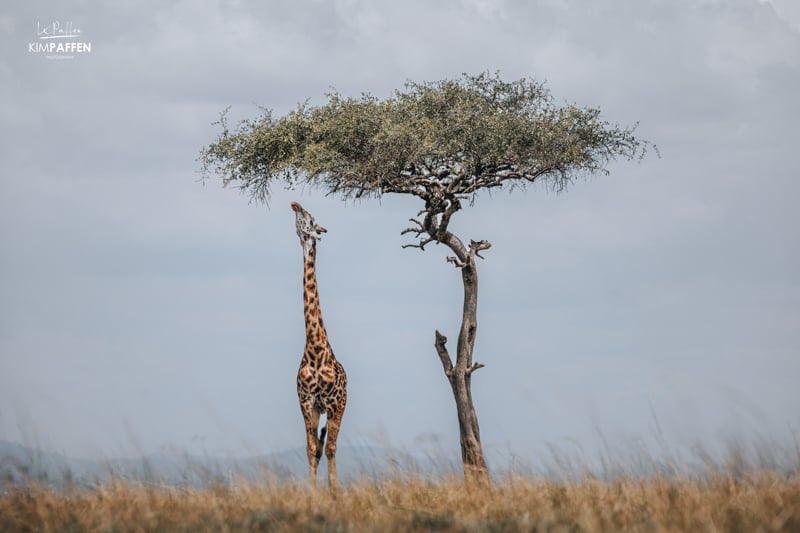
Shooting from a low angle (on the ground) can also make your composition more attractive. Safari in a game drive vehicle mostly doesn’t allow you to get out of the car to photograph wildlife, but on some occasions it might be possible. Another occasion could be if you’re on a walking safari. The advantage of getting low on the ground is that you are able to change the background in your scene. Being on eye-level with your animal also establishes a better connection.
Please consider the ethics of your framing – prioritize the well-being of the wildlife you encounter.
5. Show animals in their natural environment
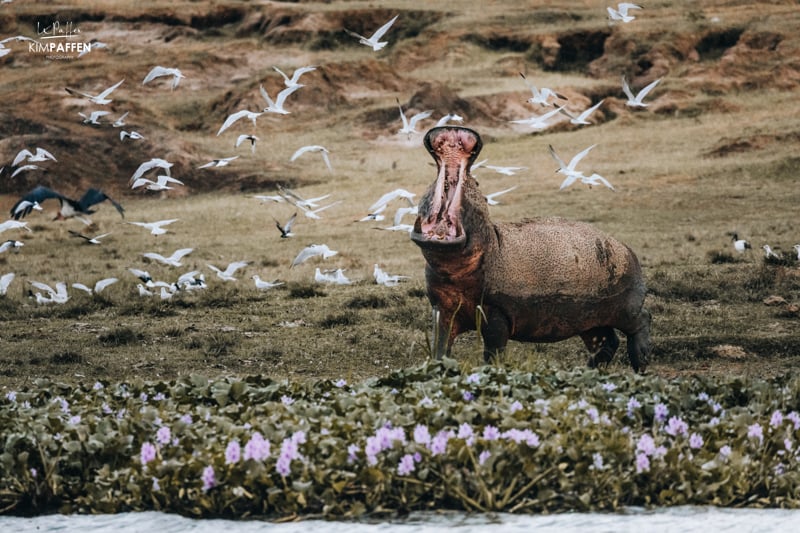
Capturing close-ups of the Big Five is often popular among safari tourists, and wildlife photographers, but don’t forget the beautiful environment these animals live in.
Their natural environment is equally important as they form that bigger picture together. And it’s those areas that we need to protect to save wildlife from extinction.
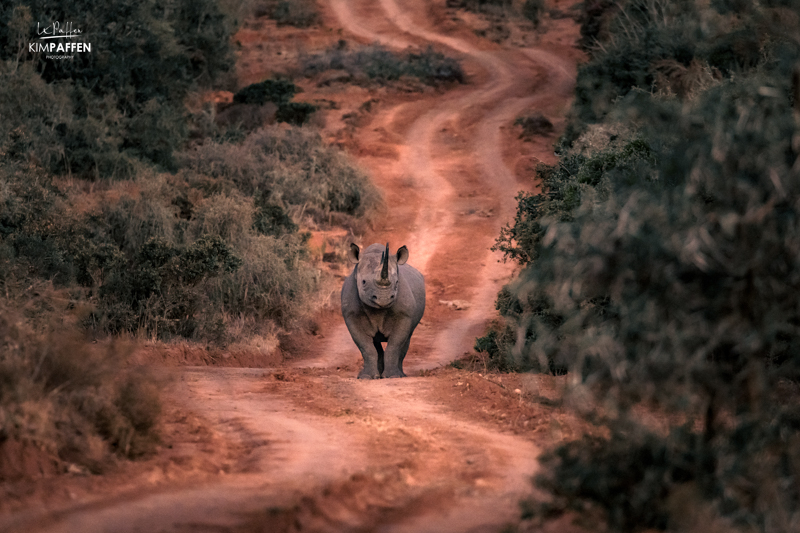
Every part of the ecosystem is dependent on each other. That’s the beauty of nature, and it allows the viewer to understand where the animal lives and flourishes. As a conservation photographer, I also love to showcase the wildlife’s home that we need to protect.
6. Master the Exposure Triangle
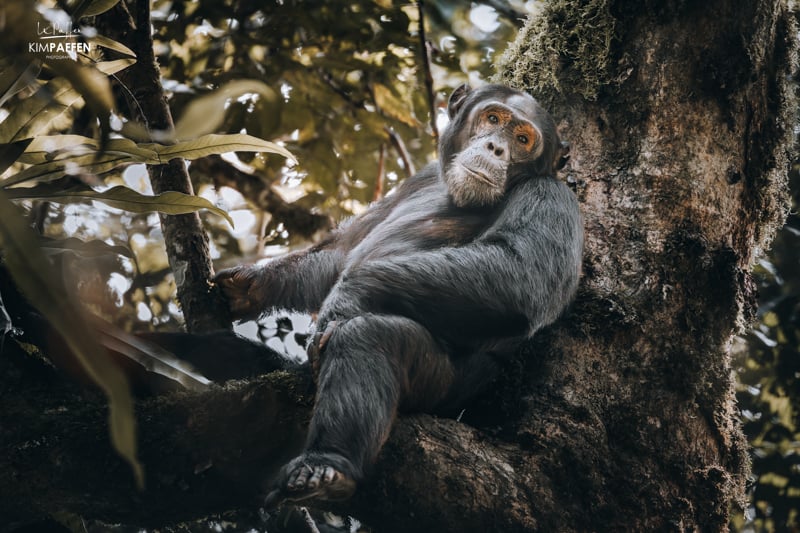
Light is a fundamental element in photography, and understanding the exposure triangle is a fundamental part to master the art of safari photography. Understanding aperture, shutter speed, and ISO allows you to adapt to various lighting conditions. These three factors work together to determine how bright or dark your photos will turn out, as well as the level of sharpness and graininess.
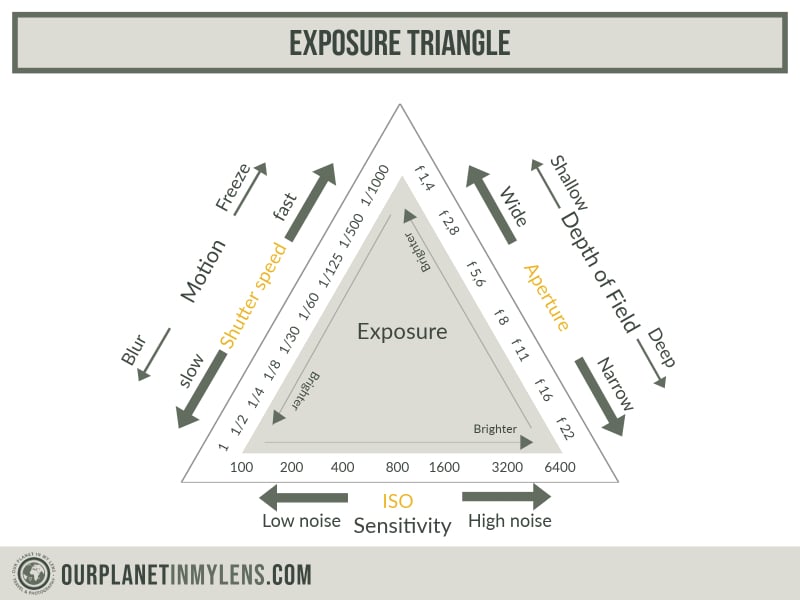
Adjust aperture for light control and depth of field, use shutter speed to freeze or create motion of animals, and set ISO for sensitivity (lower during the day, higher when it’s getting darker).
7. Use Shutter Priority Mode for moving wildlife
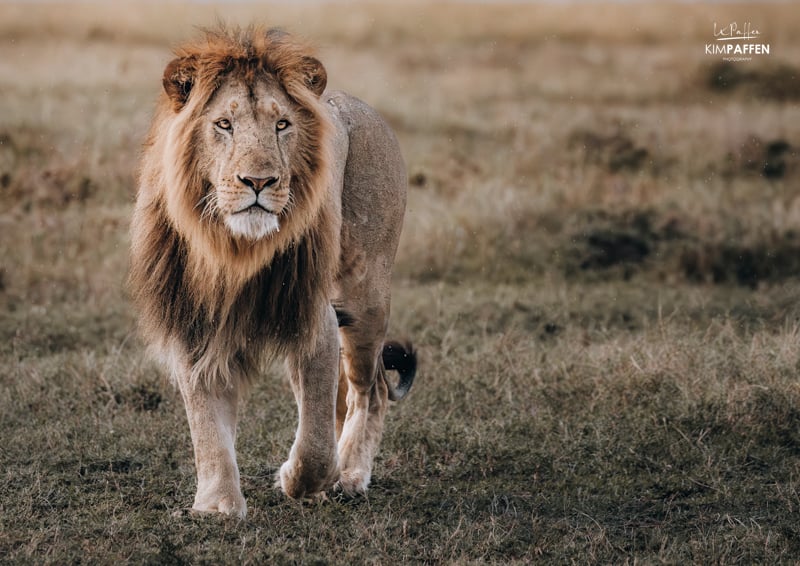
If you’re used to photographing in automatic mode, it can feel like a puzzle if you want to photograph wildlife manually. Therefore, my best photography tip is to set your camera on shutter priority mode (S). It means that you only have to think about the shutter speed and the camera does the rest like your ISO and Aperture (semi)automatically.
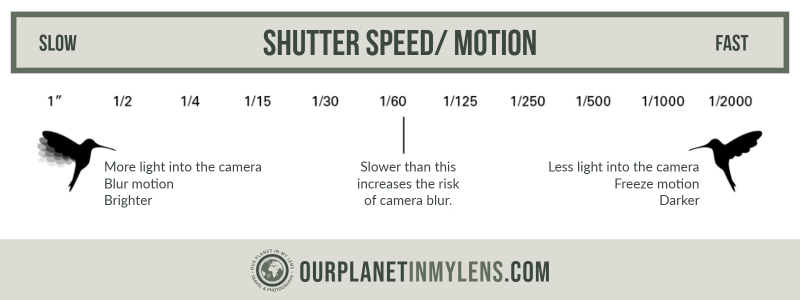
This technique ensures sharp and clear images, especially when photographing animals in motion on your safari. Use a fast shutter speed to freeze fast-moving wildlife action, and try to practice with various settings between 1/250th of a second up to 1/2500s. Additionally, fast shutter speeds can help prevent camera shake, particularly when shooting handheld.
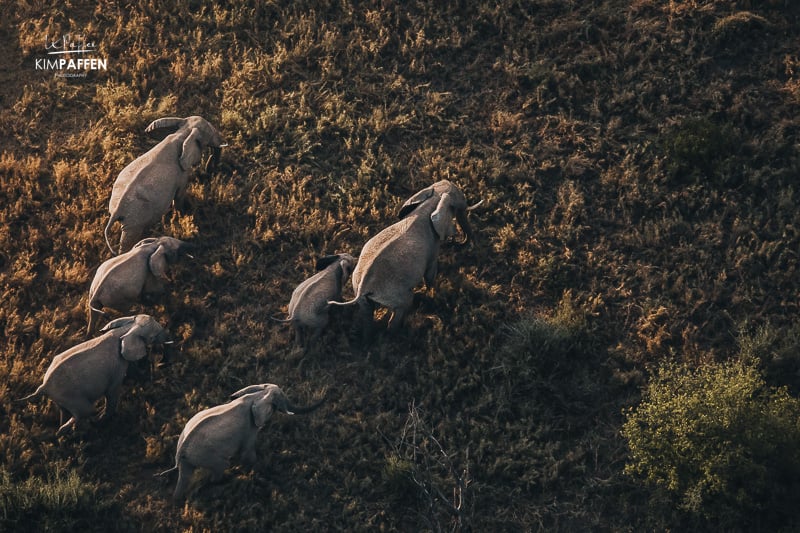
A rule of thumb: choose a minimum shutter speed based on the focal length you are shooting. An example: I often capture wildlife with a focal length of 400 mm, meaning my minimum shutter is 1/400s. If you are in a moving safari vehicle, boat or hot air balloon, and/or the animal you want to photograph is moving fast, then use a minimum of 2 times the focal length. So, shooting at 400 mm would mean a shutter speed of 1/800s. To capture moving birds in flight, you might want to practice choosing shutter speeds to up to 1/2000s.
8. Choose AI Servo (AF Continuous) Mode for moving wildlife
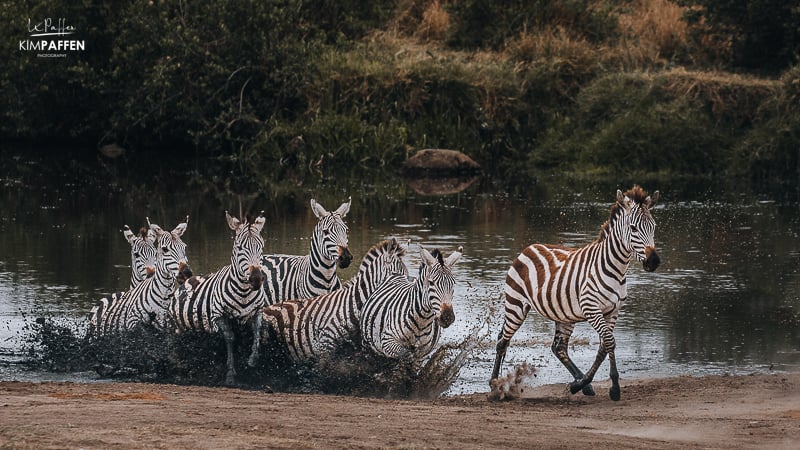
AI Servo is the best mode to capture wildlife that is moving, to automatically keep track of and stay focussed on the moving animal.
9. Practice with Aperture Priority Mode for a ‘blurry’ background
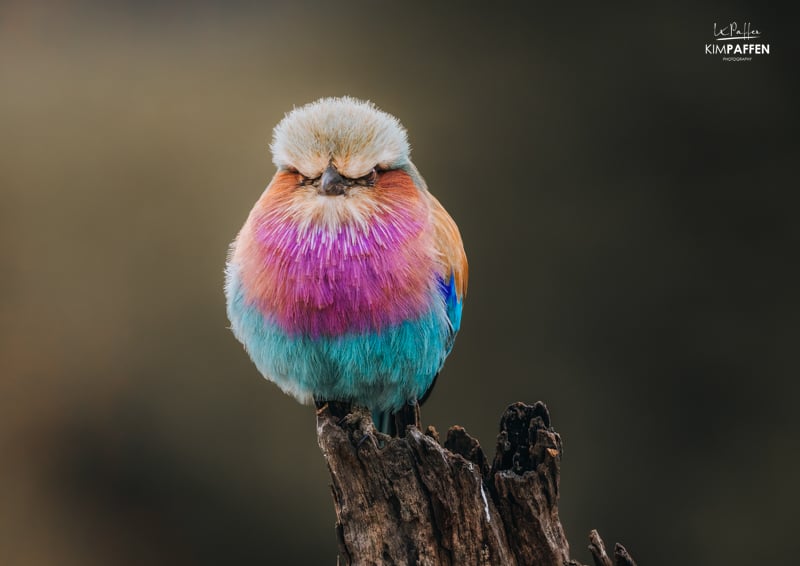
Aperture Priority in safari photography allows you to set the desired aperture, controlling the depth of field in your wildlife shots. In situations where you want a blurred background to emphasize the subject, or conversely, a broader depth of field to capture more details.
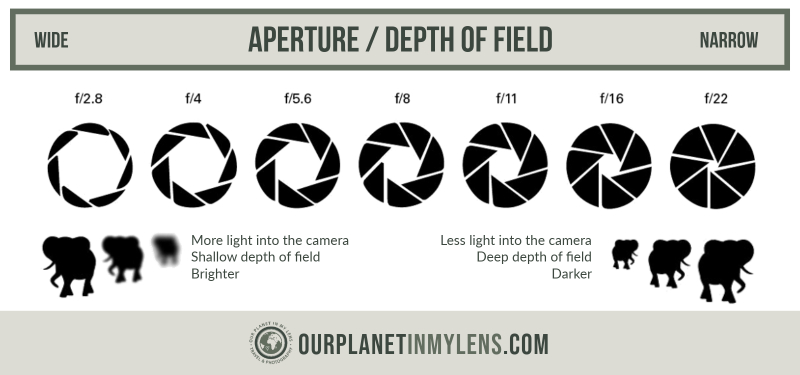
Aperture Priority mode gives you this creative control. For example, when you want a close-up of a lion or a colorful bird with a blurred background effect, like the Lilac-breasted Roller in the above image. The more zoom and the lower the aperture number, the more you are able to eliminate the background in your image and create that nice compression.
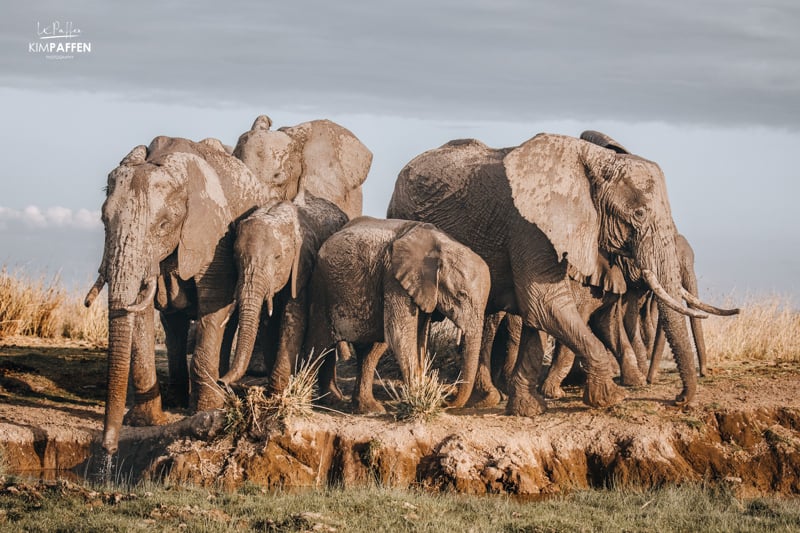
On the other hand, if you want to photograph a group of animals like a herd of elephants, I recommend choosing an aperture of f/8 to get the whole group of animals in focus (and not only one).
10. Try Burst Shooting Mode in Safari Photography
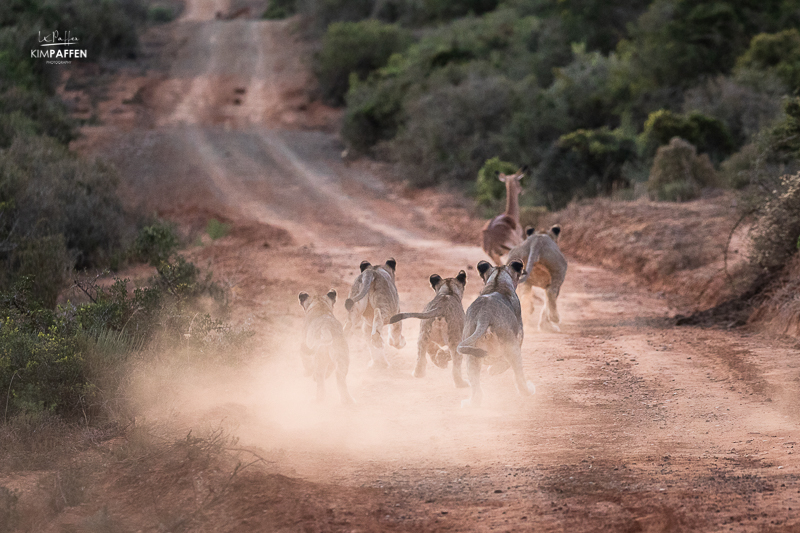
Shooting in burst mode is an important wildlife photography tip for safari enthusiasts, catering to both beginners and advanced photographers. Wildlife is unpredictable, and animals often move swiftly. Burst mode allows you to capture a series of rapid shots, increasing the chances of freezing dynamic moments, ensuring you don't miss critical actions or spontaneous behaviors.
Beginners benefit by having a safety net, capturing shots even if timing is a challenge. For advanced photographers, burst mode offers creative opportunities to select the perfect frame from a sequence.
11. Focus on the eyes of an animal
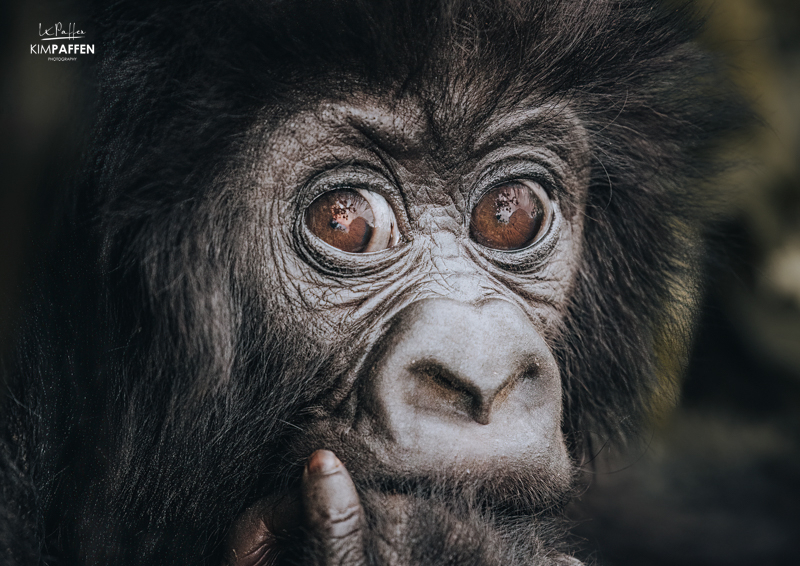
Always focus on the eyes of the animals; that’s the cardinal rule of wildlife photography! This golden tip elevates your shots, creating a connection between the viewer and the wildlife subject. Instead of hastily snapping numerous wildlife images, wait for the moment when the animal turns its gaze towards you.
Focusing on the eyes provides viewers with a unique perspective. It creates a visual connection, as if the animals are looking directly through the photograph at the audience. This transformative approach adds depth and emotion, making your wildlife images more memorable and resonant, especially when capturing close-up shots of animals. This technique enhances the details in the eyes, showcasing the intricacies and expressions that might be missed in broader shots.
Aim for a shutter speed between 1/250s to 1/2500s, depending on the animal's movement, and an aperture between f/2 to f/6, depending on your lens. These settings ensure both eyes are in focus, capturing the essence of the wildlife subject.
Remember, the eyes are the windows to the soul, even in the animal kingdom. So when focusing on the animal’s eyes, you can create truly remarkable and memorable wildlife photographs.
12. Shoot in RAW if you can
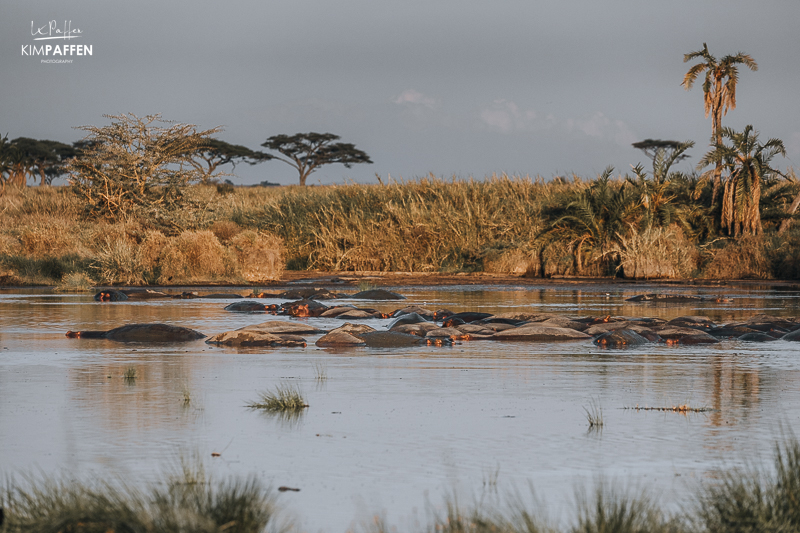
Shooting in RAW format on a safari offers several advantages.
RAW images provide a higher dynamic range compared to JPEG, capturing more details in both shadows and highlights. This is crucial in the diverse and often challenging lighting conditions encountered during a safari.
RAW files contain more image data, allowing for extensive post-processing without compromising quality. This flexibility is valuable when adjusting exposure, contrast, color balance, and other elements during the editing process (I usually edit my wildlife images in Lightroom).
Shooting in RAW preserves the original quality and detail captured by the camera's sensor. This is especially important in wildlife photography, where preserving the authenticity of the scene is crucial.
13. Timing is Everything: The Golden Hour and Beyond
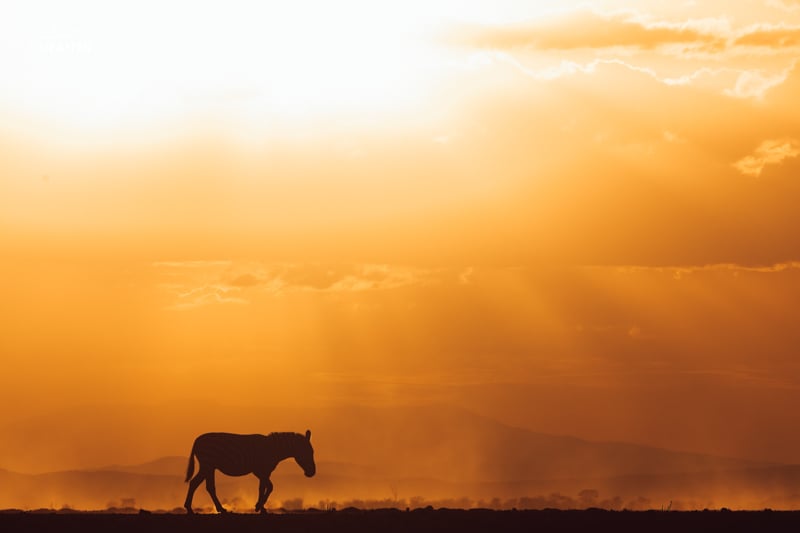
The golden hours of sunrise and sunset conveniently align with the typical timing of game drives during a safari when the animals are most active. The warm, soft light enhances the colors and textures of the African landscape, creating a captivating backdrop for your photos.
The advantage of photographing during the Golden Hour, sometimes called ‘Magical Hour’, is that the soft golden light reduces harsh shadows and creates a golden glow. Patience during these hours rewards you with captivating glimpses into the animals' daily lives.
14. Equip Yourself Wisely with the right camera gear
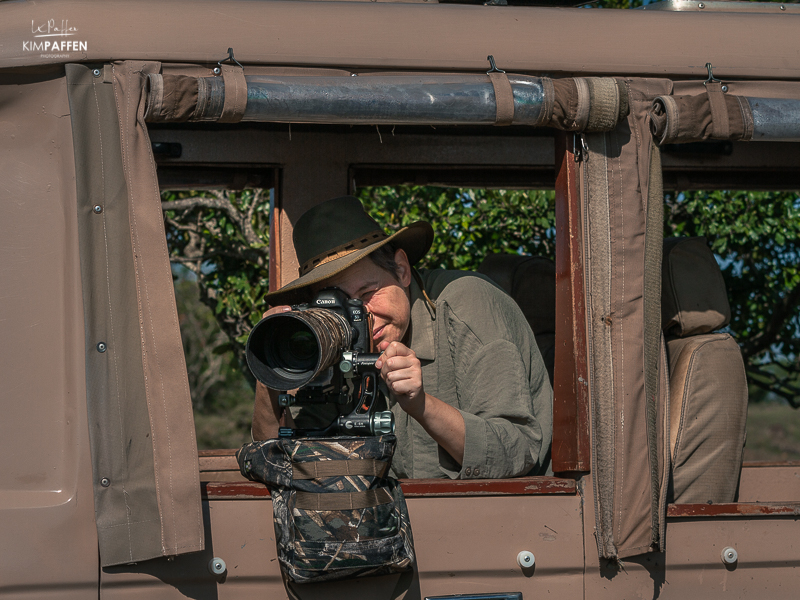
Ensure you have the right camera equipment for safari photography.
Camera
Bring a DSLR (Digital Single Lens Reflex) camera and zoom lenses with 200-600 mm range or a quality compact camera for versatile quality wildlife photos. Safari photography on a smartphone is not the best option to photograph wildlife, but it is, of course, a great option to create short videos, stories, and reels.
Zoom lenses for safari photography
I highly recommend a long lens with a minimum of 200 mm zoom to capture distant wildlife. A zoom lens allows you to effortlessly switch between photographing animals from a distance without disturbing them and capturing intricate details of flora and fauna up close.
More ideally, a zoom lens with a focal length of 300 mm+ is great for capturing wild animals or birds. If you’re using a full-frame camera, I would suggest a 400 mm zoom lens and if you are a keen birder a 600 mm long lens is perfect for bird photography on safari.
Wide-angle lens
Apart from zoom lenses, I always carry a wide-angle lens (for example 16-35 mm), great for capturing the beautiful African landscapes and its animals or magical sunsets.
Essential accessories
Don't forget essential accessories, such as memory cards, extra batteries, cleaning wipes, a charger, a camera bag, and a rain cover. Consider a beanbag for stability.
Hire photography gear for safari
Not having the right camera gear? Nowadays, the quality of compact cameras is pretty good as well, and it’s also possible to hire photography gear.
15. Consider bringing a tripod and/or beanbag
Bringing a tripod and/or beanbag on safari is a crucial photography tip for the following reasons:
- Stability for Clear Shots: A tripod or beanbag provides stability, reducing camera shake and ensuring clear shots, especially when using longer lenses.
- Flexibility in Composition: Both tripods and beanbags allow photographers to compose shots with precision. A tripod is ideal for setting up shots in a fixed position, while a beanbag provides a more flexible option, allowing quick adjustments and movements.
- Support for Heavy Equipment: Professional camera gear, including telephoto lenses, can be heavy. A tripod and/or beanbag offers robust support for heavier equipment, preventing fatigue during extended periods of shooting.
- Long Exposure and Low Light Conditions: In low light or during sunrise/sunset safaris, a tripod is essential for capturing long-exposure shots without introducing motion blur. A tripod is also great to practice with star photography and photographing the milky way when you're back at the safari lodge.
- Silent Shooting with Beanbags: Beanbags are preferred for wildlife photography as they provide a stable base without the noise associated with adjusting tripod legs. This is especially important to avoid disturbing animals in their natural habitat.
- Versatility in Safari Vehicles: Safari vehicles often have limited space, and tripods may be cumbersome. Beanbags are more versatile, easily adapting to the contours of the vehicle and providing a stable platform for photography.
16. Make a back-up of your images on safari
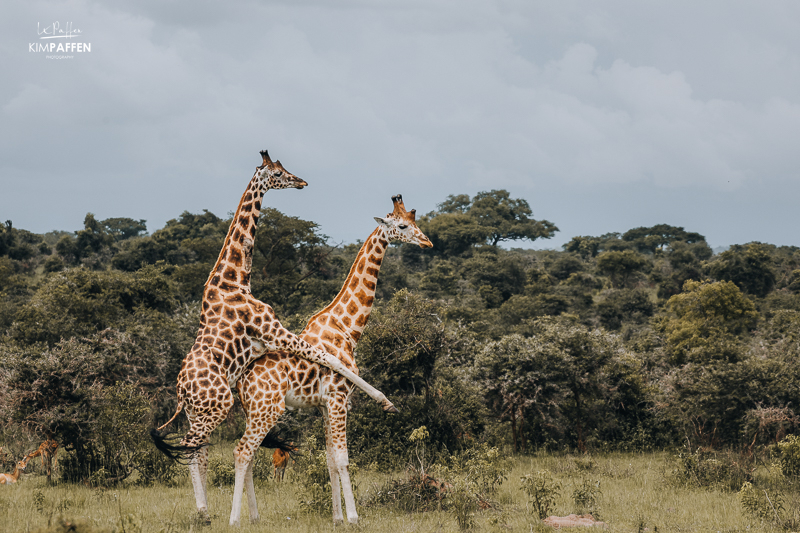
I always back up my images while traveling. When my memory card is full, I back up my images onto an external hard drive. That is mostly enough, but for people who want to travel longer, I highly recommend backing up to a second external hard drive (kept in different locations). Hard drives I use are Lacie Rugged, Samsung, and Seagate.
If you are using your phone only, I also recommend backing up your images in the cloud, for example iCloud, Dropbox, Google Drive, Google Photos, you name it.
17. Keep it Simple and Be Patient
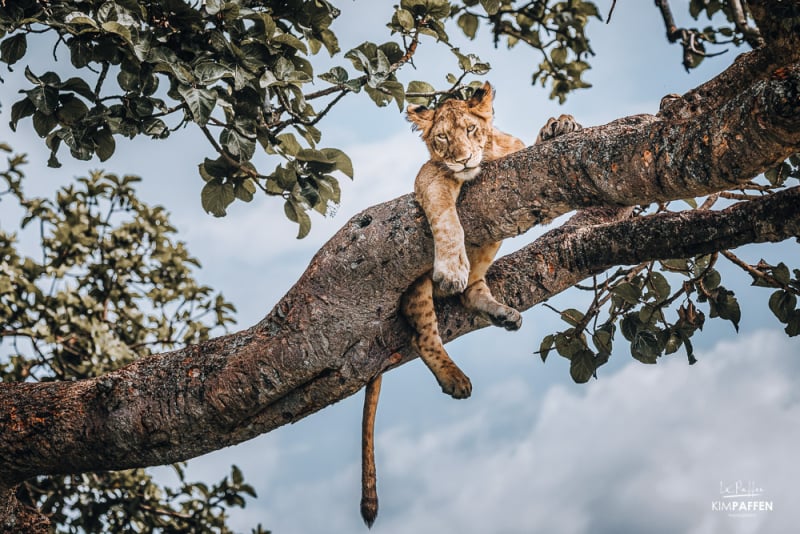
Wildlife photography requires patience. Allow yourself time to observe and wait for the right moment, focusing on mastering basic techniques. Don't be overwhelmed by settings; simplicity often reveals the raw beauty of wildlife.
18. Edit your photos
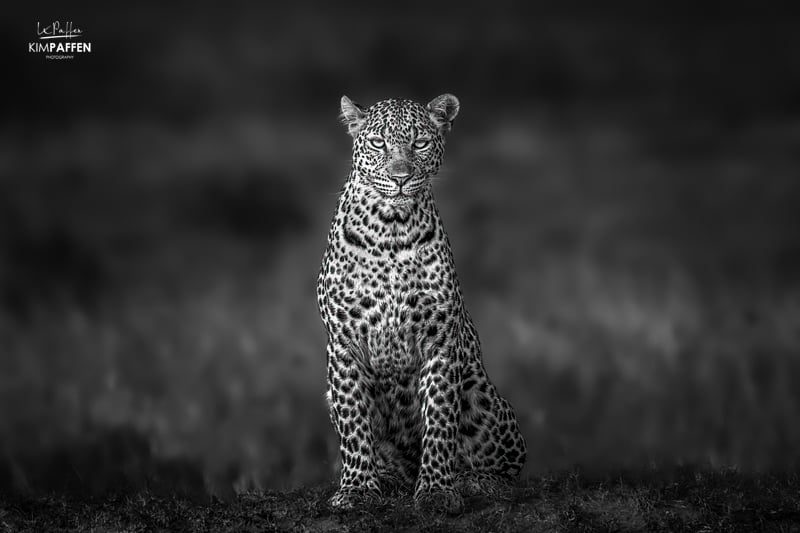
Editing your safari photos is not essential, but if you want to step up your safari photography game, I highly recommend learning how to edit your wildlife images in, for example Adobe Lightroom (for both desktop and smartphone) and Photoshop. Especially if you are planning to print your photos, post-processing is an important step.
Get in touch for a private workshop on how to edit your safari photos or join me on a photo safari where I will share editing tips to improve your wildlife photography.
19. Know Your Camera
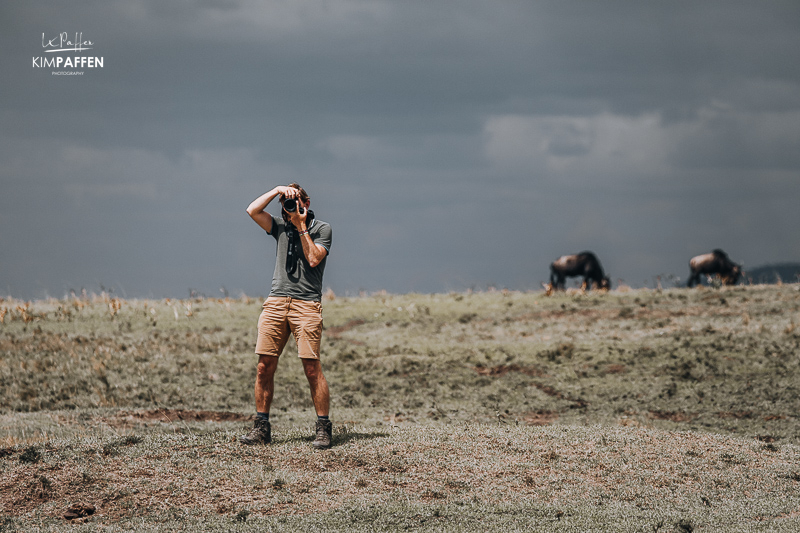
If you're a beginner photographer, all the settings on your camera can be a bit overwhelming. When I first started photography, my camera was a puzzle to me. I kept using the automatic mode until I learned the basics of photography during a volunteer program in South Africa. Having two game drives per day in Thanda Game Reserve in KwaZulu-Natal was the perfect way to start practicing shooting in manual mode and learn more about the best settings for safari.
I highly recommend to start learning more about your camera and camera settings before you go on safari. Go through your camera manual to find the buttons and settings of some of the technical photography tips I mentioned in this article.
20. Embrace Learning and Growth
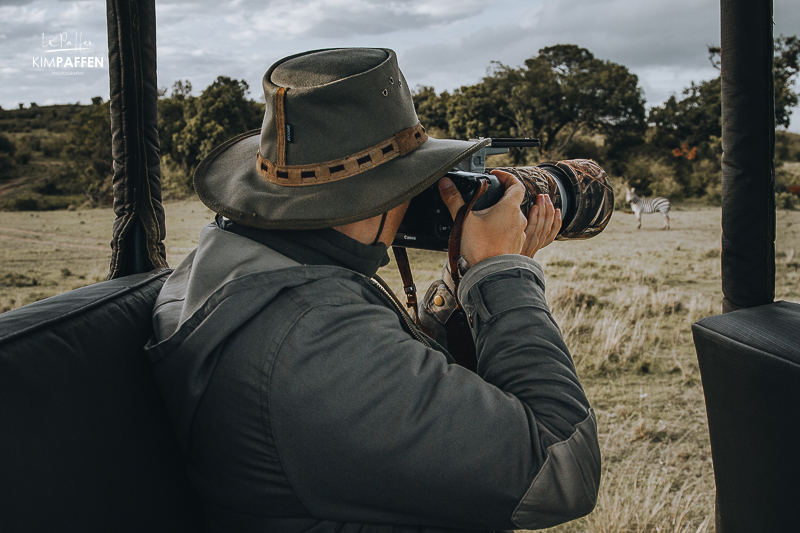
Whether you're a beginner or experienced photographer, nurture your interest in learning photography. Books about photography, online photography courses, workshops and guided photo safari tours with photography experts offer opportunities to enhance your safari photography skills; including my small group photo safaris.
To master a new skill, learning by doing is often the most effective approach to get to know your camera better. So please remember, anyone can learn photography, and the wonders of a safari in Africa can ignite your passion for capturing the mesmerizing beauty of our planet's wildlife.
21. Join me on a photo safari to Africa
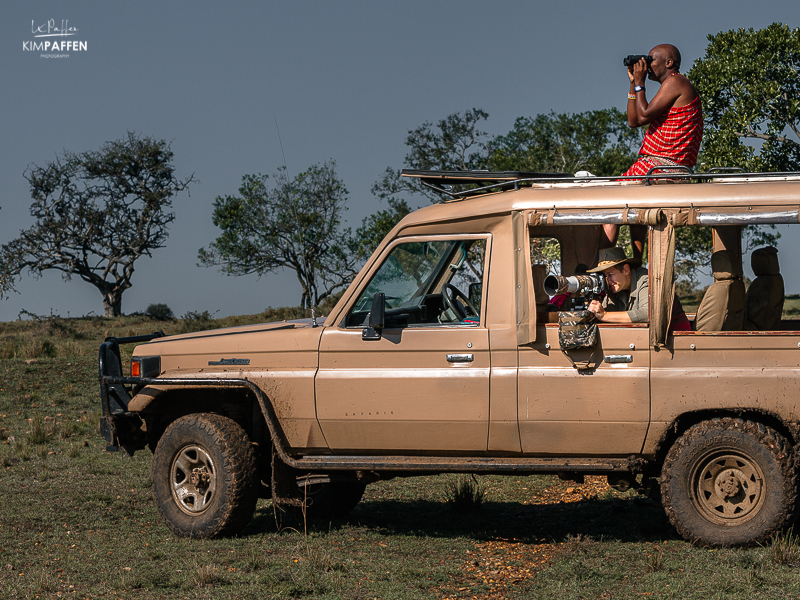
Do you want to improve your photography skills on safari and travel with like-minded travelers? Join me on a small group safari to Africa. As a professional wildlife photographer, I can help to improve your photography skills on safari by sharing hands-on experience and valuable tips. Instead of rushing to tick off the Big Five, we will spend our time carefully during the beautiful golden hours around sunrise (morning game drive) and sunset (afternoon game drive).
It doesn't matter if you're a beginner, intermediate, or professional photographer. Having an interest in photography and and being prepared to learn are the most important aspects.
Safari Photography Tips to take the best photos on safari
These tips, coupled with the expertise on my photographic safari trip to Africa, will undoubtedly enhance your safari photography journey. Capture the essence of Africa's breathtaking wildlife and create lasting memories with every click of your camera (or even your smartphone).

